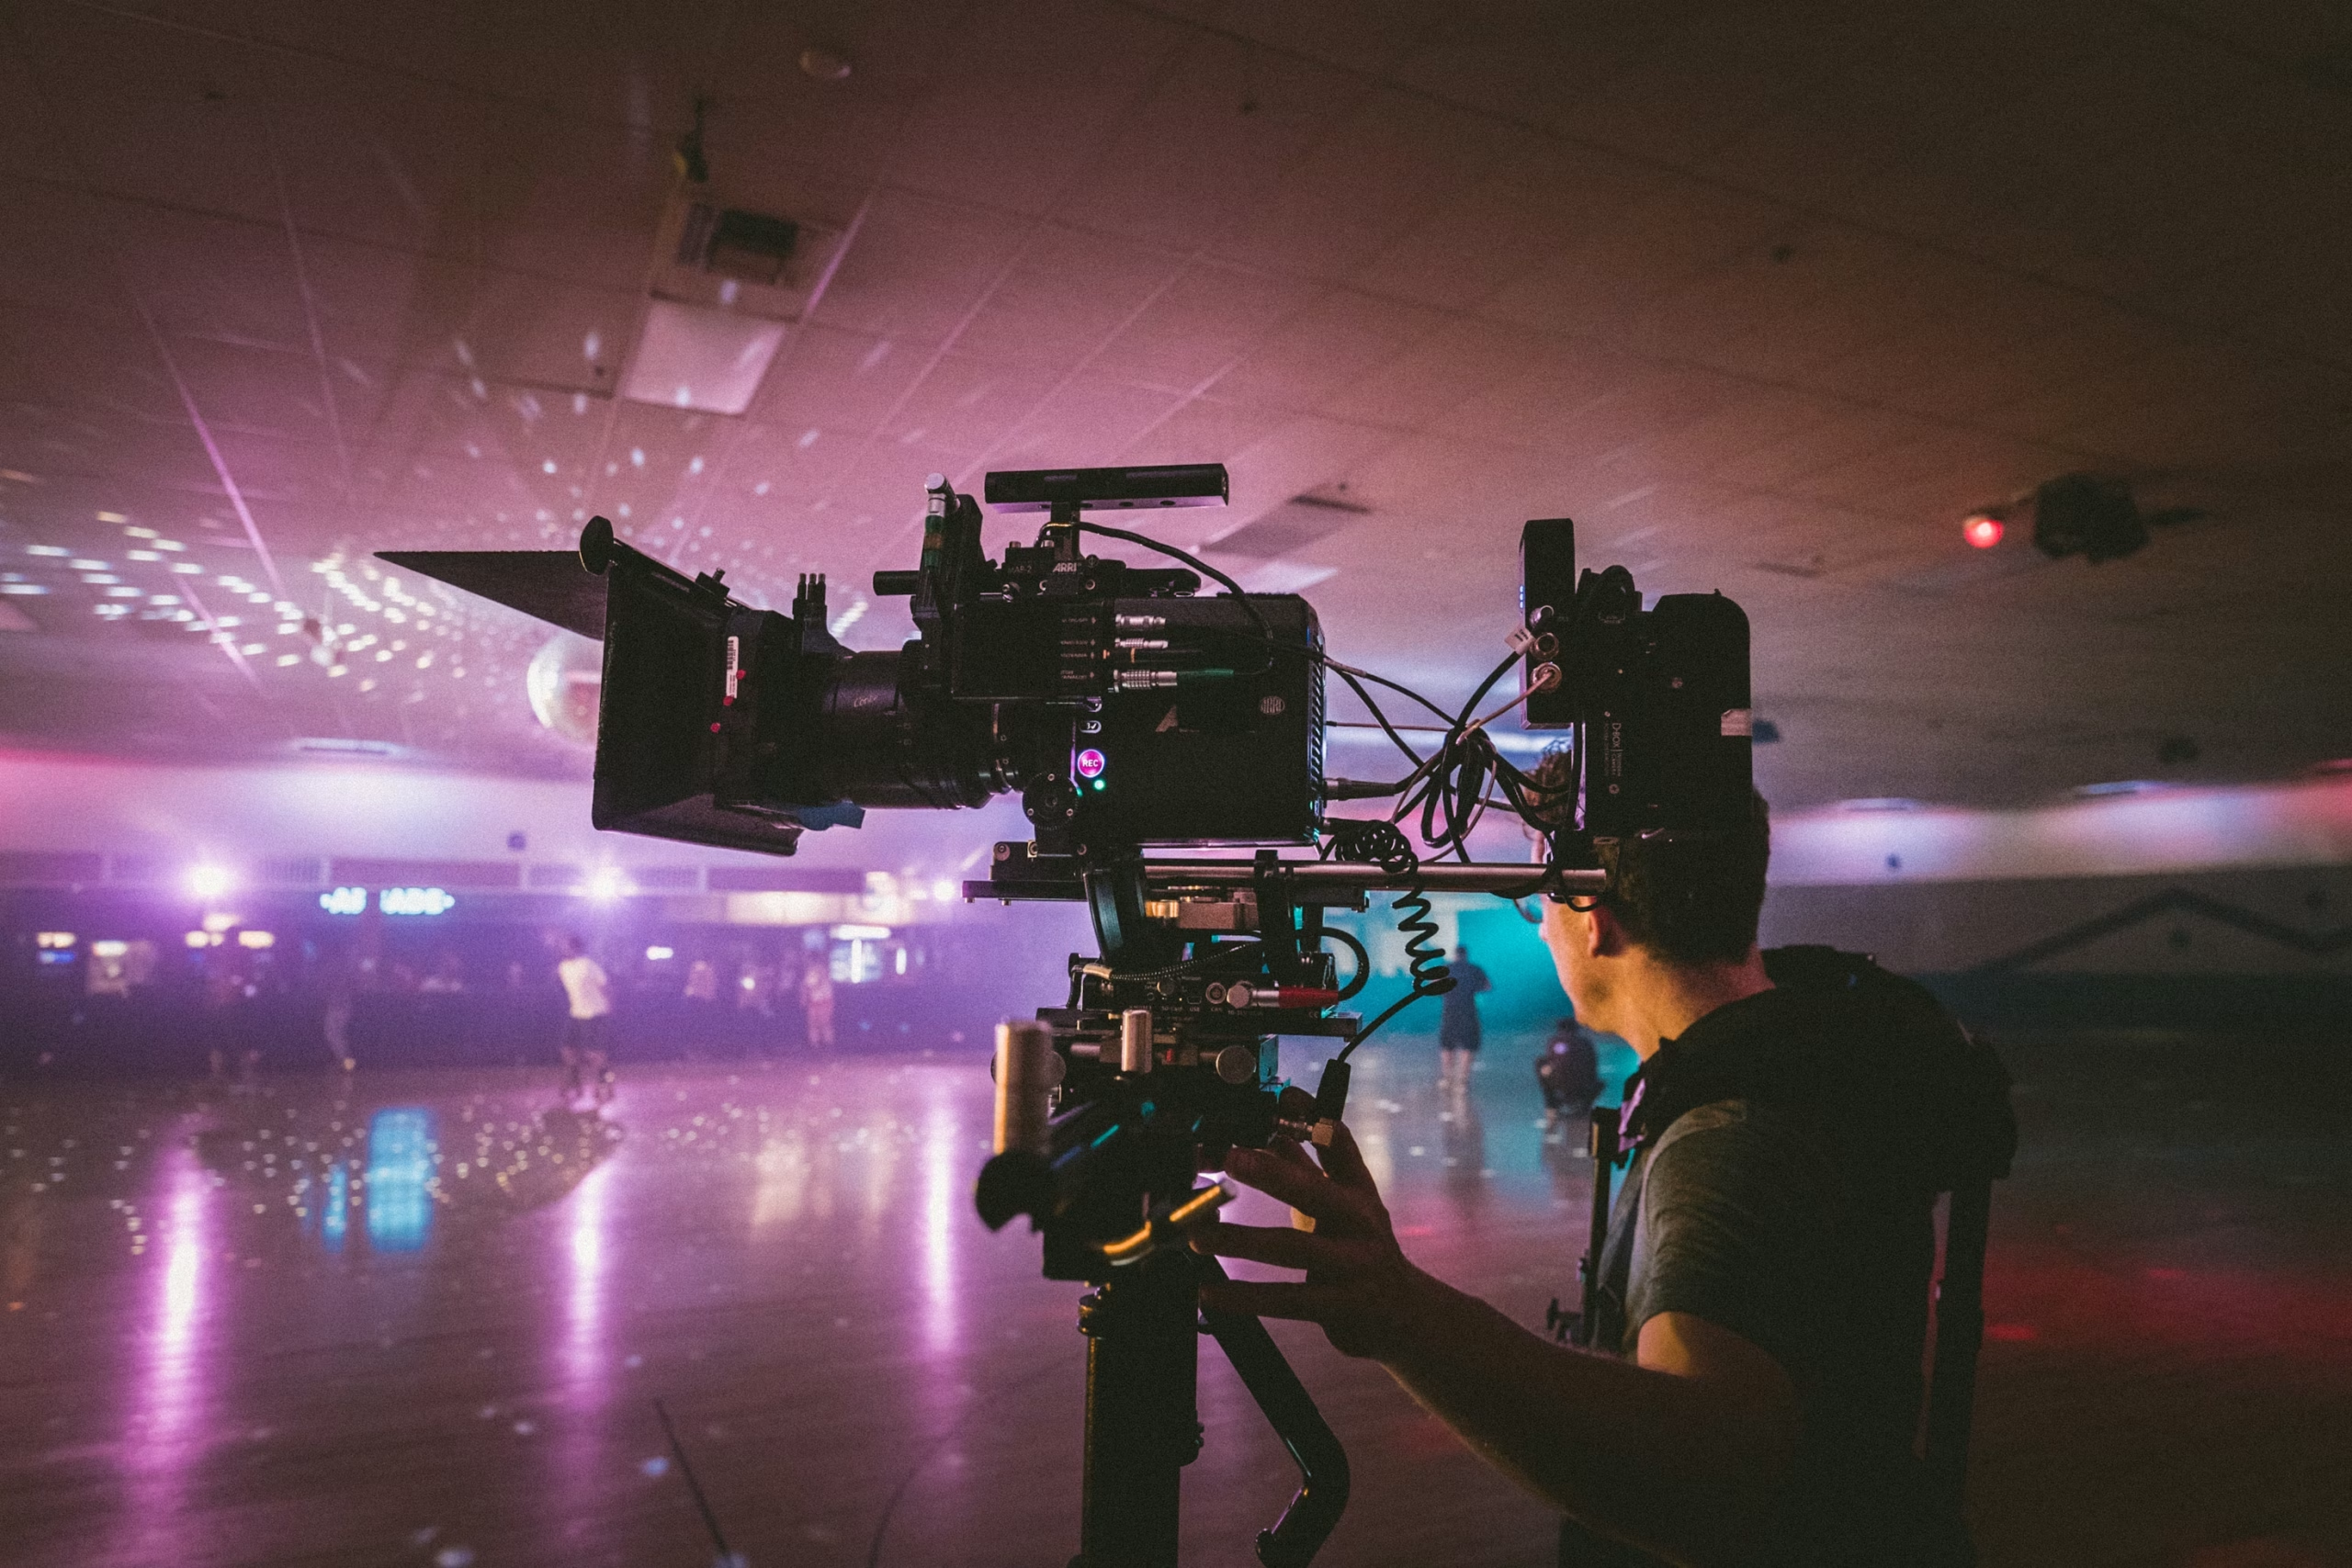
Simple Steps to Create Your First Short Film
Gone are the days when filmmaking was reserved for those with access to expensive equipment and large production teams. Today, anyone with a compelling idea and a creative mindset can bring their vision to life.
Independent creators no longer need massive budgets or industry connections to make an impact. With accessible tools and a DIY approach, you can craft a short film that resonates with audiences. Whether you’re working with a smartphone or a budget-friendly camera, the key lies in resourcefulness, planning, and storytelling.
Our blog today will walk you through simple, practical steps to create your first short film, helping you overcome common challenges and make the most of what you have.
So, let’s get started.
Step 1: Develop Your Core Idea into a Short Film Script
A great short film starts with a simple yet powerful idea. Since you’re working with limited resources, focus on:
- A story that can be told within 5–10 minutes – Avoid overly complex plots.
- A limited cast – One to three characters can make production manageable.
- Minimal locations – A single setting or just a couple of easily accessible places reduce logistical challenges.
- A clear emotional impact – Short films work best when they evoke a strong reaction.
Once you have your idea, write a basic script. Use free tools like Celtx or WriterDuet for formatting, or even a simple Google Doc will do for your first short filmmaking endeavour. Make sure your dialogue is concise, natural, and impactful.
Step 2: Keep It Simple When Framing Your Shots
Cinematic excellence isn’t about complex camera movements; it’s about effective framing and composition. Here’s what you need to keep in mind:
- Use the Rule of Thirds – Divide your frame into nine equal parts and position key elements along these lines to create visually balanced shots.
- Stabilize Your Camera – Use a tripod or place your camera on a steady surface to avoid shaky footage. If shooting handheld, keep movements slow and controlled.
- Choose Wide and Medium Shots – For your first film, keep framing simple—wide shots establish setting, and medium shots focus on dialogue and character interaction.
- Shoot with Good Lighting – Natural light works best for beginners. Shoot near windows or outdoors during the golden hours (early morning or late afternoon).
For your first film we recommend focusing on clarity and storytelling instead of chasing flashy effects. A well-told, simple story beats a poorly executed, stylish one. A great way to pick up the basics of filmmaking is by watching short films and online tutorials. We have a treasure trove of great short films right here on the Royal Stag Barrel Select Shorts, if you are ever in need of inspiration.
Read More: From Script to Screen: The Journey of a Short Film
Step 3: Choose Real Locations Over Expensive Sets
Instead of investing in artificial sets, use what’s available. One of the easiest ways to keep your filmmaking budget low is by using real locations instead of building sets. Just be mindful of certain things:
- Your home – A bedroom, kitchen, or living room can serve as a great backdrop. But make sure the background isn’t too cluttered and that lighting conditions remain consistent.
- Public locations – Parks, coffee shops, and streets offer dynamic environments (but check local filming rules).
- Minimal setup – Avoid excessive props and décor; instead, work with what’s naturally present in the location.
Step 4: Stitch Your Shots Together
Editing is where your film truly comes to life. Use free editing software like DaVinci Resolve, CapCut, or iMovie to arrange your footage. Follow these steps:
- Trim unnecessary parts – Keep your pacing tight and engaging.
- Cut on action – When transitioning between shots, cut when a movement is in progress for a natural flow.
- Add basic color correction – Slight adjustments in contrast and brightness can enhance visuals.
Once again, a couple of free YouTube lessons can enhance your editing skills on the software of your choice and make the final results look fantastic.
Step 5: Cleaning up the Audio
Several studies point out that muffled or distorted sound quickly distracts viewers. Dialogue must be clear. If people struggle to hear what’s being said, they’ll disengage. Similarly, viewers connect emotionally through sound. A well-placed background score enhances the mood and impact of your film.
The amazing part is that, even when filming on a smartphone, your film can sound professional with a few simple fixes:
- Record in quiet environments – Reduce ambient noise as much as possible.
- Ensure clear dialogue – Always prioritize recording clean audio rather than fixing it later.
- Use an external mic if possible – Even a basic lapel mic significantly improves sound quality.
- Use AI-powered tools – Platforms like Adobe Podcast Enhance, Auphonic, and Krisp can remove background noise and improve voice clarity for free.
- Layer background music and sound effects – Free sources like YouTube Audio Library and Freesound offer quality soundtracks.
If you are recording the audio separately, you may need some additional lessons in syncing the audio with the footage in editing software.
Get Started
Creating your first short film doesn’t require expensive equipment—just creativity, planning, and a willingness to learn. By focusing on a strong story, simple yet effective visuals, real locations, and clear audio, you can craft a compelling short film that leaves an impact.
Start small, experiment, and most importantly—tell the story that only you can tell.
That’s all for today. Now, grab your camera, and start filming!


